


Battery powered electric golf carts deliver a reliable and cost-effective solution for moving around golf courses, warehouse operations, institutional campuses, and other large areas. The useful life of a golf cart will always extend past the life of the original batteries installed in the vehicle – so vehicle owners and operators need to understand the best practices for ensuring battery replacement is effective, safe and economical. Fortunately, replacing golf batteries can be uncomplicated with a little bit of preparation.
Choosing the Right Battery
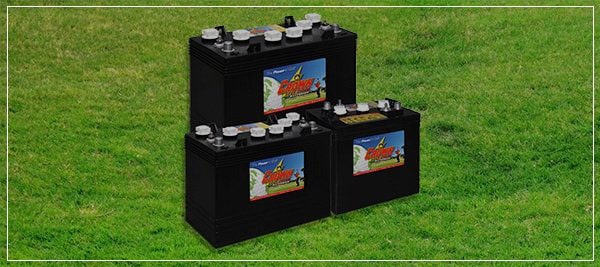
The first rule for battery replacement is to make sure that the batteries in your vehicle actually require replacement. Most battery powered vehicles are fitted with a series of 6-volt golf cart batteries, 8-volt or 12-volt golf cart batteries that are connected in 36 or 48-volt sets. When one or more golf cart batteries in the vehicle begin to fail, they can seriously affect the health of the remaining batteries.
For this reason it is important to periodically inspect the condition of your batteries, the connections to the batteries and the vehicle’s battery charger to ensure that the complete system is functioning properly and maintaining the batteries in a full state of charge condition. Because batteries are installed in series and work together – the battery set is only as strong as its weakest unit.
To ensure optimal performance and reliability, it is generally recommended that you replace all of the batteries in your vehicle, even if only one or two are in need of replacement. When doing so – consult equipment professionals who are familiar with your vehicle to identify the best option for sourcing replacements.
Removing Old Batteries
Before removing batteries from your vehicle, it essential to educate yourself about the best practices for ensuring safe working conditions for yourself and anyone helping you with this work. It is important to wear personal perfective equipment when handling batteries. For further information regarding the safe handling of your deep cycle batteries refer to our Safety First brochures in the resources section of the website.
Open the battery compartment, usually located under the seat. Disconnect the negative cable and the positive cable from each battery and then remove any brackets that are holding the batteries in place. Using an approved lifting device remove the batteries one by one and store for recycling.
Installing New Batteries
Before installing new golf cart batteries, it is a good idea to clean the cable connections as well as the battery compartment. Allow the connections and compartment to dry completely before installing the new batteries. Set all the new batteries securely in the battery compartment before reconnecting the battery cables. Be sure to fully charge your new batteries before attempting to drive.
Installing new golf cart batteries can greatly improve the life of a golf cart, and is easy to do if you take the proper precautions and follow the right steps.